
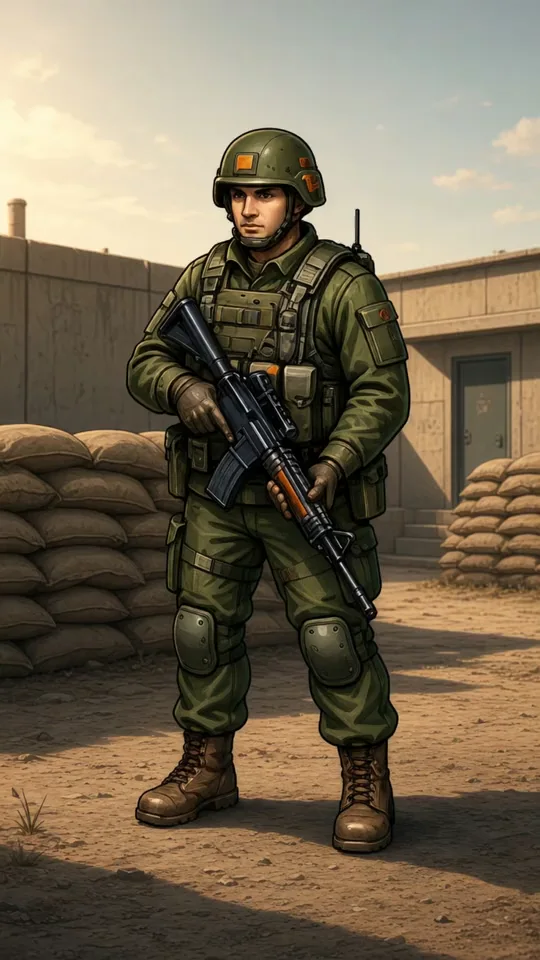
Field note 01
Start with the army your campaign asks for
Your first Frontier orders lead to HQ 3 and completed training of 30 Infantry. Use the Barracks and keep enough supplies and credits for recruitment as well as construction. Training credit is permanent: later deployment or casualties do not erase it. The 30-Infantry objective is a progression milestone, not a guaranteed winning army against every target. Follow the base's next-action guidance when resources, queue capacity or building prerequisites prevent the next order.
Field note 02
Scout a level 1 camp before choosing the detachment
Open World Map → Targets and find a level 1 NPC camp for the first battle. Level 1–2 camps give exact defender intelligence after scouting, even without Radar upgrades. One troop is sufficient to scout; it is a separate, paid resource order that causes no combat and brings no loot. Once the scout returns, read the report and compare the battle forecast. Stronger camps need more reconnaissance, so upgrading Radar and Early Warning becomes useful as your campaign advances.
Field note 03
Understand what Infantry is good at
Infantry is the early line unit: accessible, useful for your garrison and effective against artillery. Armor pressures infantry; artillery targets armor and needs a line in front of it. Later units add more specific jobs, so these three roles are a starting framework rather than a complete battle rule. Your target's actual composition matters more than owning the most expensive unit. Develop new training buildings and research when the campaign and the next enemy call for them.

Infantry
Holds the line. Counters artillery.

Armor
Pressures the enemy's infantry.
Artillery
Targets armor. Needs a screen.
Field note 04
Compare the forecast instead of copying a troop count
Try more than one commitment in the attack panel. Compare victory and casualty ranges, then consider replacement costs and training time. The forecast uses your troops, bonuses, battle order and the scouting snapshot; it cannot promise that the target stays unchanged until arrival. A stronger margin can reduce losses, but sending more troops also ties up more of your garrison. If the forecast is unsuitable, choose an easier camp or improve your base before attacking.
Before dispatch: check possible permanent casualties, replacement costs and the active defenders left home. A forecast is an estimate from a scouting snapshot.
Field note 05
Leave a useful garrison and respect deployment limits
Troops away on a march cannot defend your base. Each army and active home garrison has an HQ-based deployment point limit, and different units consume different points. Review the active defenders before dispatching rather than assuming every troop you own can defend at once. Develop your Defense Tower too. NPC attacks preserve your shield; an offensive PvP march removes it immediately. You do not need PvP attacks to complete the campaign, but eligible rivals can raid an unshielded base.
Field note 06
Bring the army home before spending the spoils
Attack arrival resolves the battle; the return journey delivers surviving troops and carried loot. Review the report, account for permanent losses and recruit replacements as resources permit. Claim completed campaign rewards in Missions to unlock the next order. Continue with useful production, storage and research upgrades while the army travels. As you approach HQ 4 and the first boss, read the Iron Viper guide: its artillery-heavy formation gives you a clear reason to keep developing an infantry-led force.
Before you enlist
A few things to know.
Are 30 Infantry enough for every early battle?
No. Completing the training of 30 Infantry is a Frontier Campaign objective, not a guaranteed winning formation. Scout a level 1 camp and use the forecast to choose a suitable commitment. Keep defenders home and budget for permanent casualties.
Do deployed or lost Infantry still count toward the training objective?
Yes. Completed training earns permanent campaign credit. Deploying troops or losing them later does not erase that training progress. Claimed rewards still need to be collected in order.
Should I put my entire army on one march?
Check the forecast and your remaining home garrison first. Troops on a march cannot defend your base, each deployment has an HQ-based point limit, and survivors stay unavailable until they return. A larger commitment is not automatically the best use of your reserves.
Keep your plan moving
Read your next field note.
Follow your first base and campaign orders
Frontline Empire beginner guide: build your base, train Infantry and scout your first NPC camp. Learn when loot returns and how to claim campaign rewards.
Open guideTake the next step: Iron Viper
Unlock Iron Viper at HQ 4, scout the battery and prepare an infantry-led army. Learn recon requirements, battle forecasts and how to claim your first boss bounty.
Open guideFund training and replacements
Understand resources, permanent campaign rewards, War Bonds, storage limits and optional purchases before spending in Frontline Empire.
Open guideYour first army starts at the Barracks.
Train Infantry, scout a camp and make your first informed decision.